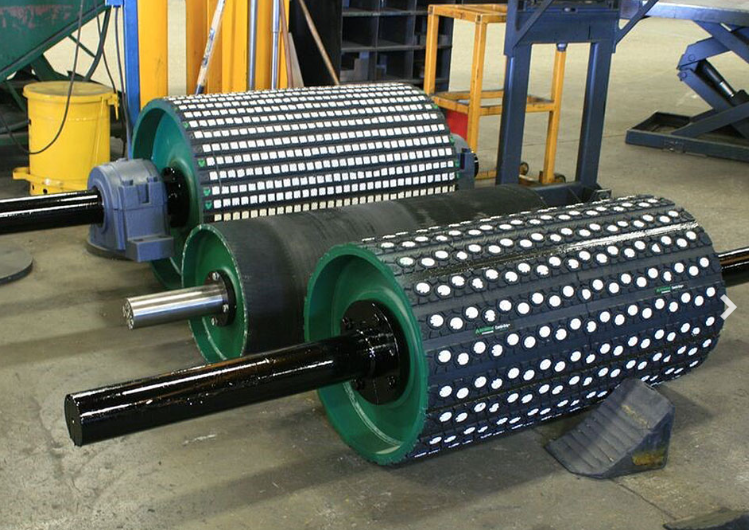
Have you ever felt like life's conveyor belt was pulling you in different directions? Well, conveyor pulleys can relate! These unsung heroes of material handling systems play a vital role in keeping things on track. Misaligned pulleys can lead to all sorts of problems, from belt wear to reduced efficiency. But fret not; we're here to demystify the process of aligning conveyor pulleys. In this guide, we'll break it down step by step, using simple language and actionable advice.
Why Proper Alignment Matters
Picture this: You're on a journey, and suddenly, your GPS starts giving conflicting directions. It's confusing, frustrating, and can lead to delays. Similarly, in a conveyor system, misaligned pulleys can cause confusion and frustration, leading to operational delays and increased maintenance costs. Proper alignment matters because it ensures the smooth movement of the conveyor belt, reduces wear and tear, and minimizes downtime.
Tools You'll Need:
Measuring tape
Carpenter's level
A straight edge (a long piece of steel or a taut string)
Feeler gauges
A wrench or spanner
A plumb bob

Step 1: Measure the Misalignment
Like diagnosing an illness, the first step in aligning conveyor pulleys is to determine the extent of the misalignment. Measure the horizontal and vertical offset between the pulley faces using your measuring tape. This tells you how far off-center things are.
Step 2: Identify the Problem Pulley
Think of this step as identifying the troublemaker in a group photo. Use your straight edge or taut string to determine which pulley is causing the misalignment. Place it against the pulley faces and see which one sticks out or falls short. This culprit needs your attention.
Step 3: Adjust the Pulley
Now it's time to bring the rogue pulley back in line. Loosen the bolts or nuts securing it to the shaft. Depending on the misalignment direction, use your wrench or spanner to make precise adjustments. Keep measuring with your straight edge or string until it's aligned.
Step 4: Fine-tune with Feeler Gauges
Imagine tuning a musical instrument; you want it just right. To achieve precise alignment, use feeler gauges to ensure the pulley faces are perfectly parallel. Slide the gauge between the faces to check the gap at multiple points. Adjust as needed until the gap is consistent.
Step 5: Check for Parallelism
We're almost there! Now, it's time to confirm that the pulley shaft is parallel to the conveyor frame. Place your carpenter's level across the shaft and ensure it's level both horizontally and vertically. If not, shim the pulley or adjust the frame until it's parallel.
Step 6: Verify with Plumb Bob
Like a plumb line helps you find your direction, it can also confirm alignment. Hang a plumb bob from the pulley shaft. It should hang directly over the centerline of the pulley below. If it doesn't, make any necessary adjustments until it does.
In the world of conveyor systems, proper pulley alignment is the key to a smooth and efficient journey. By following these simple steps and taking the time to ensure your pulleys are aligned correctly, you can reduce wear and tear on your conveyor belt, minimize downtime, and keep your operations running smoothly.
Keep Your Pulleys on the Right Path!
Just as a well-aligned GPS ensures a smooth road trip, well-aligned conveyor pulleys guarantee a trouble-free journey for your materials. Take action today, and you'll reap the rewards of reduced maintenance, increased efficiency, and a conveyor system that runs like a well-oiled machine. Your materials will thank you!


Comments
Please Join Us to post.
0